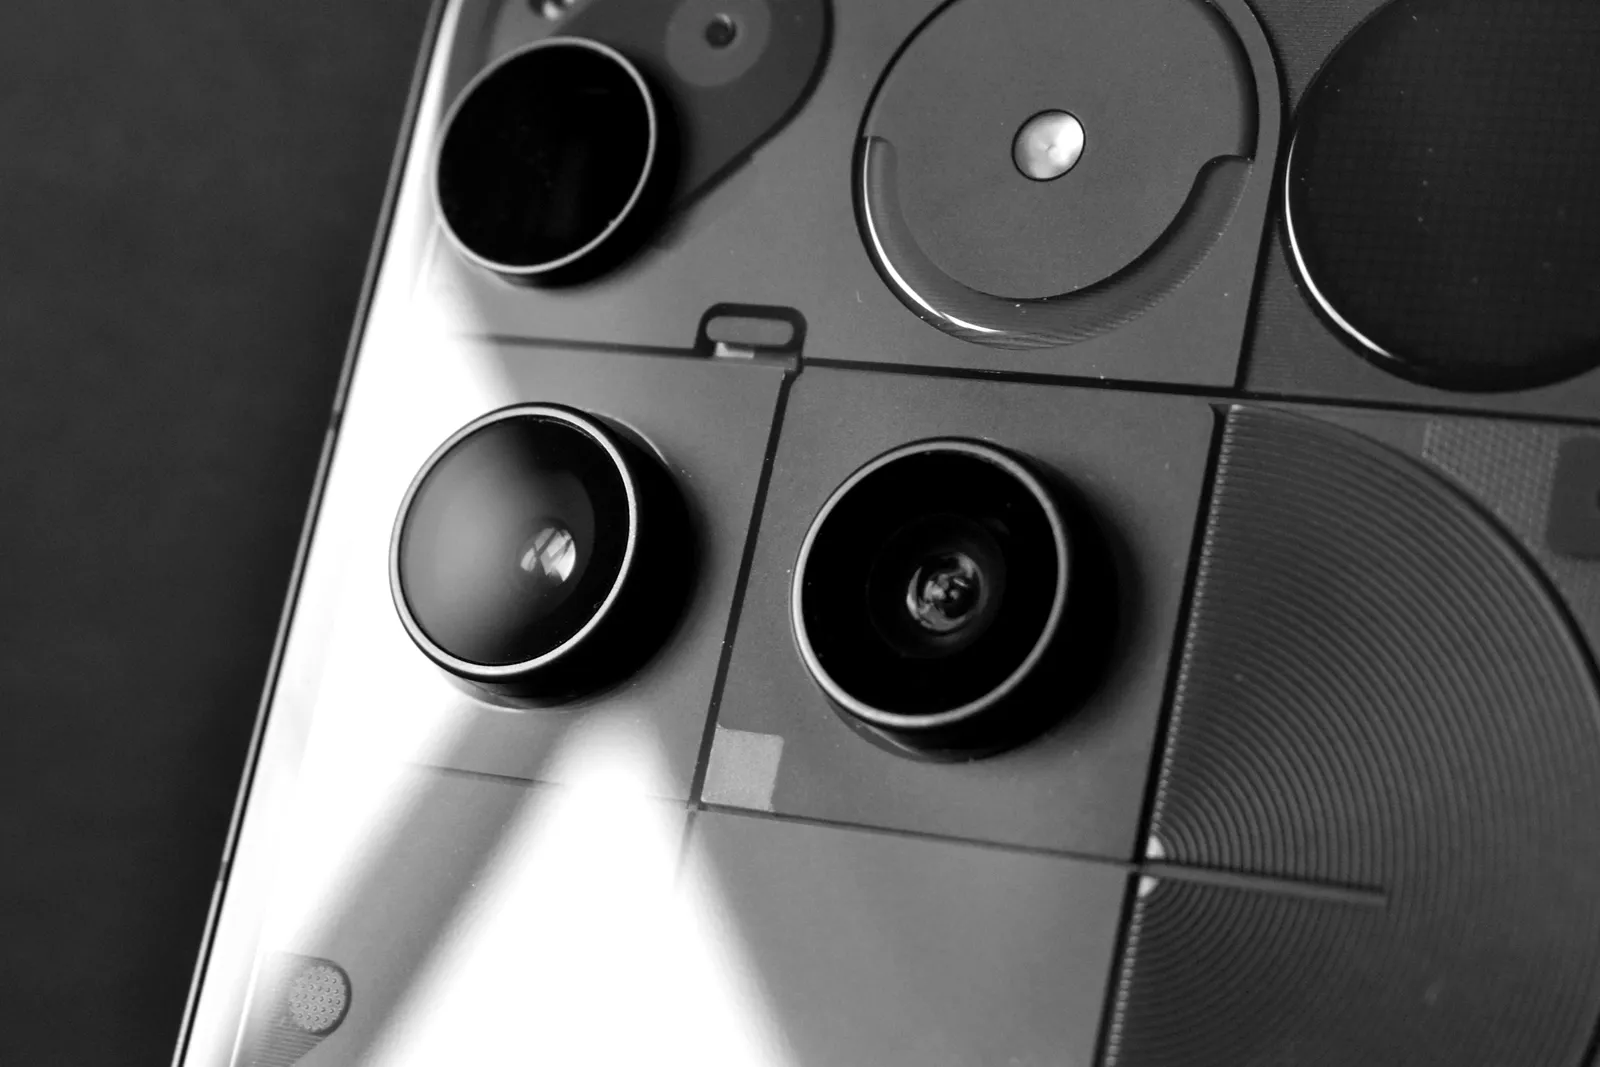
Shiny products are hard because they barely show light at all. They show reflections of whatever is around them. A glass bottle on a table is a small curved mirror, and if the room is messy, so is the bottle. The trick is deciding what the product gets to reflect.
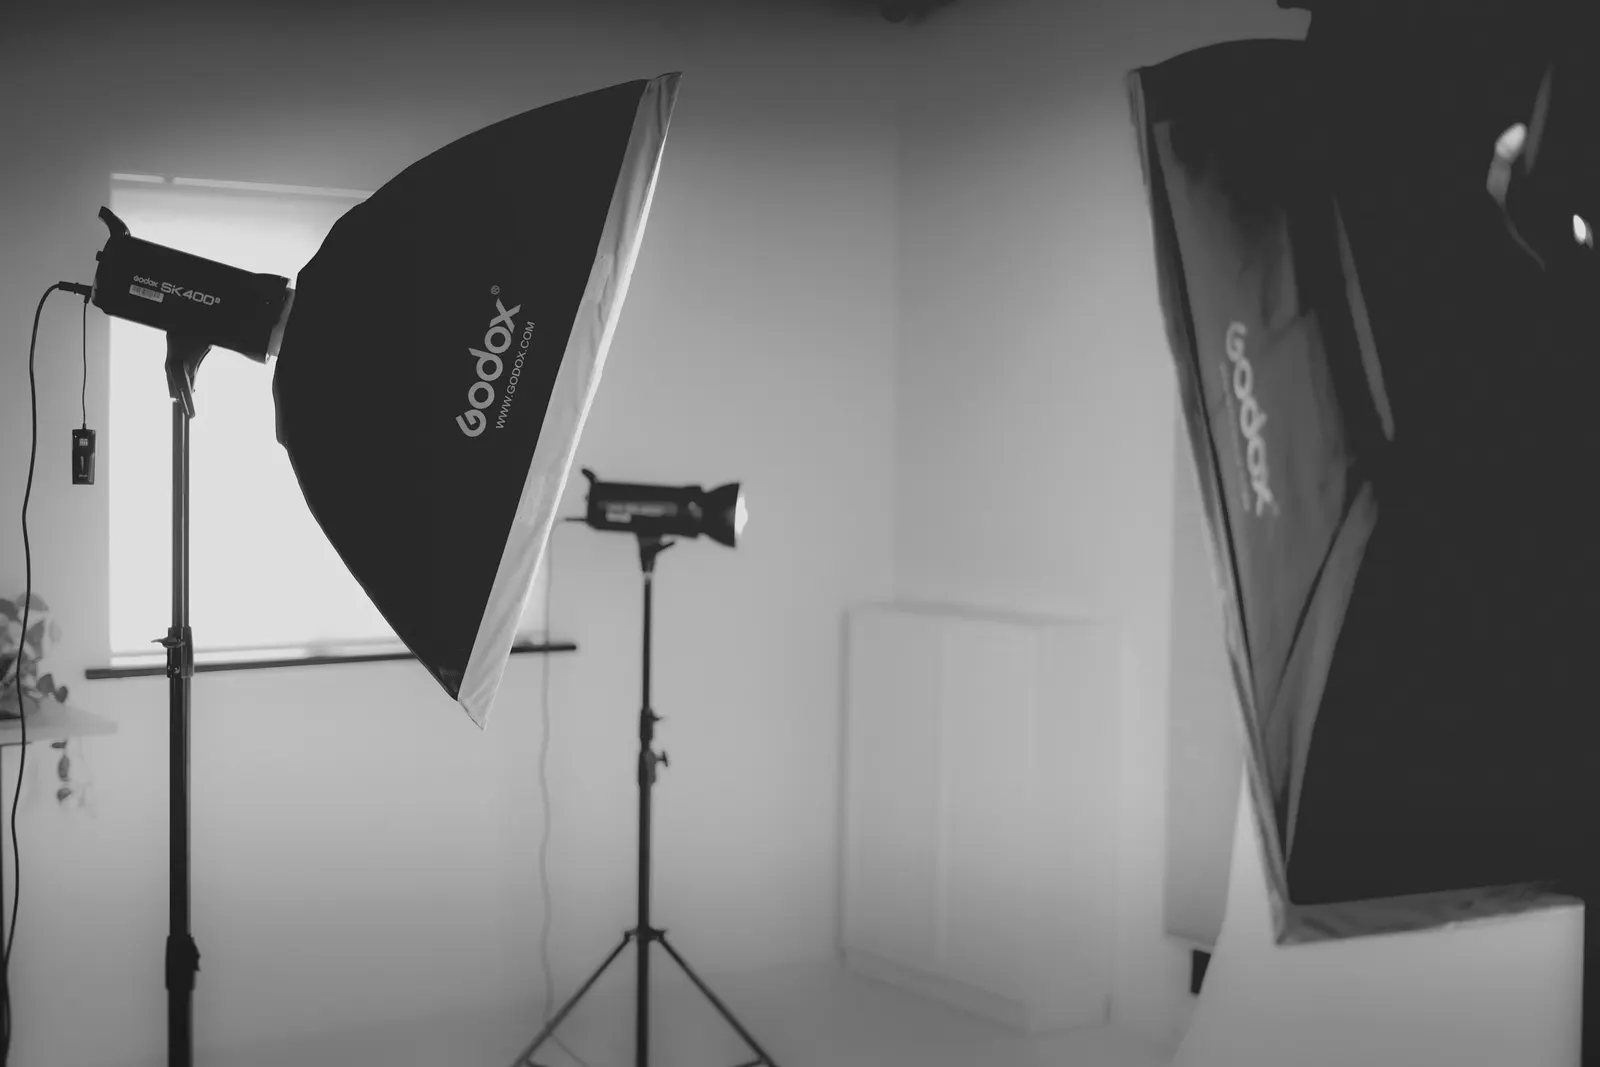
I do almost all of it with one softbox. Moving one light around a product teaches you more than adding a second ever will. These are the three positions I start from.
1. Behind and above
For clear glass, put a strip box behind the product and slightly above it, just out of frame. The glass lights up from inside and every edge picks up a clean bright line. Liquid glows. This is the light from our spritzer launch.
2. To the side, close and big
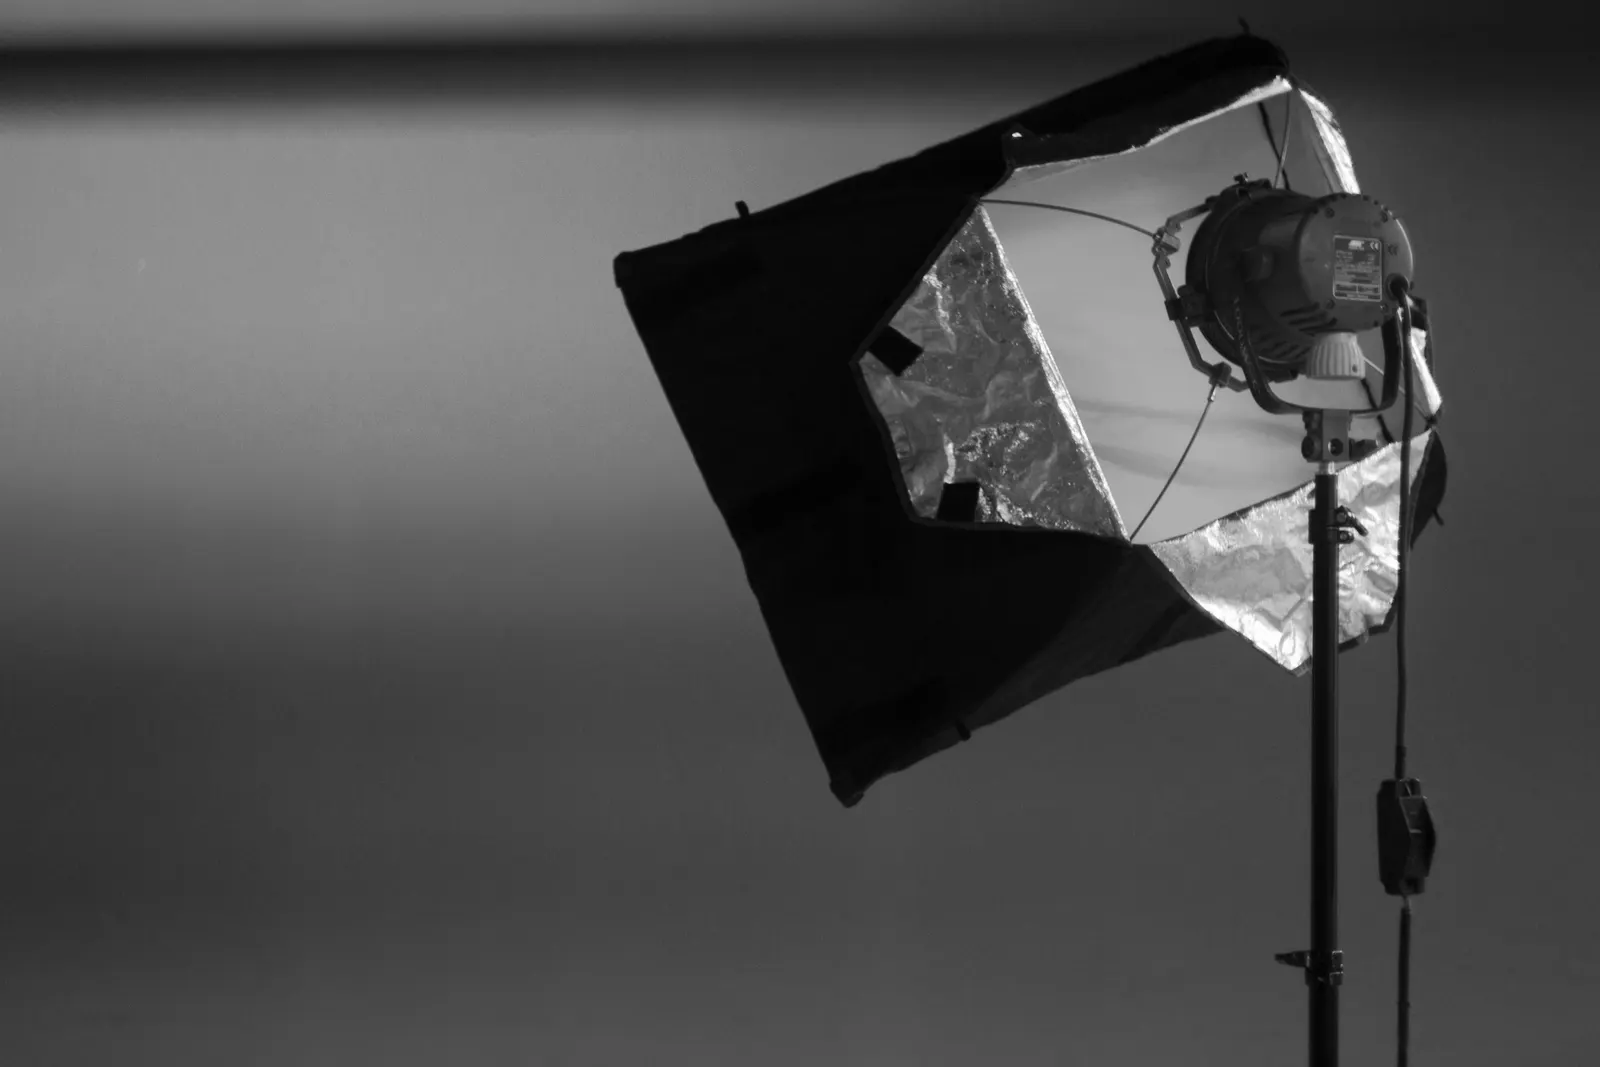
For polished metal, bring a large softbox to one side, as close as it will go without being in frame. The metal reflects one long smooth gradient instead of a hard dot. Turn the product slowly and watch the gradient slide across it. Stop when it reads as a shape, not a stripe.
3. Raking, almost level
For brushed or textured metal, drop the light almost to the table and let it skim across the surface. Every brush line throws a tiny shadow. This is the position that turned a flat aluminium wallet into something you want to touch.
The cards do the rest
Once the light is in place, white and black cards do the fine work. A white card adds a reflection where the product looks too dark. A black card takes one away and gives the edge of a bottle a crisp dark line. They cost almost nothing, and they are the most used tools in the studio.
Mateo LindPhotographer and founder of LeanIn